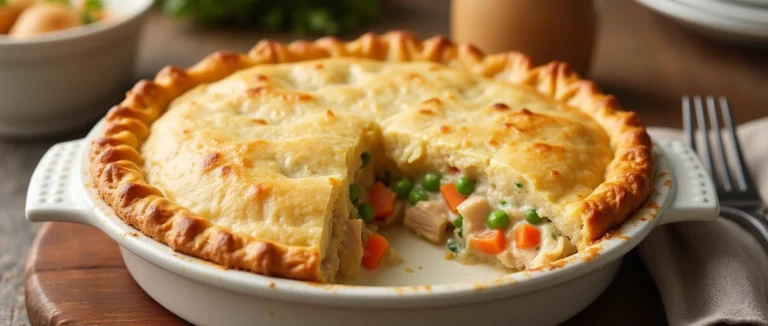
How to Make the Best Crisco Pie Crust recipe from Scratch
Table of Contents
Making a delicious Crisco pie crust from scratch can be a bit tricky. But with the right techniques and ingredients, you can get a flaky and tender crust. This crust is perfect for any filling. You’ll learn how to make the perfect Crisco pie crust in this article.
Introduction to Crisco Pie Crust
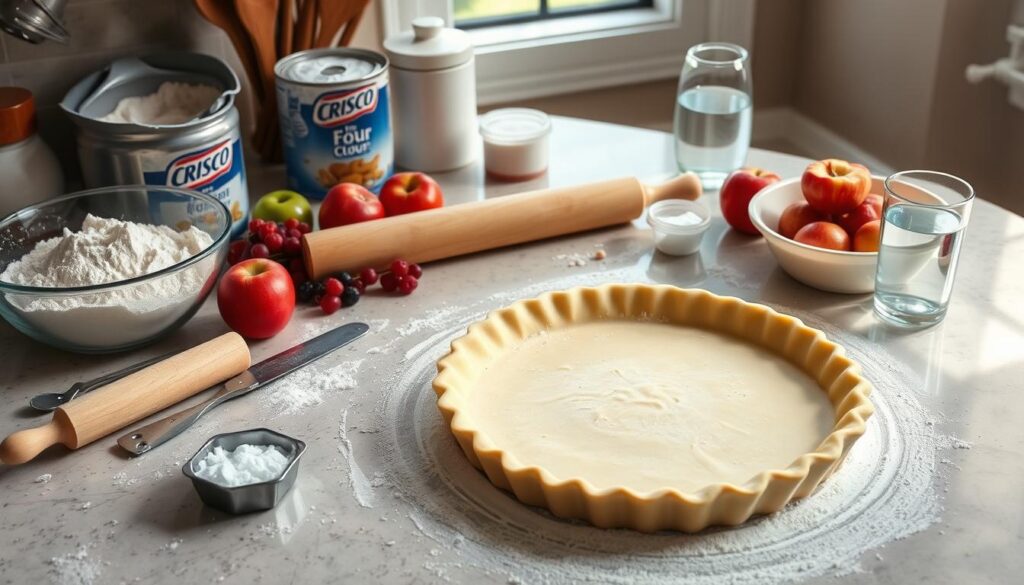
To make a great pie crust with Crisco, you need the right ingredients and tools. The Crisco pie crust recipe is loved by many bakers. It makes a flaky and tender crust. With the right techniques and ingredients, you can impress your family and friends with a delicious Crisco pie crust.
Key Takeaways
- Make a delicious Crisco pie crust recipe from scratch
- Understand the basics of pie crust making and the role of shortening
- Learn how to make a pie crust using Crisco
- Achieve a flaky and tender crust that complements any filling
- Use the right ingredients and tools to make a great Crisco pie crust
- Follow the right techniques to make a delicious Crisco pie crust recipe
Why Choose Crisco for Your Pie Crust
Choosing the right fat is key for a tasty pie crust. You can pick butter or shortening, but Crisco is a top choice. It gives your crust a flakier texture and better control over temperature. This makes your pie crust look and taste professional.
Shortening has many perks. It makes mixing and rolling easier. This is because it melts slower than butter, spreading fat evenly in the dough. So, you get a crust that’s flaky and tender, impressing everyone.
Benefits of Shortening vs Butter
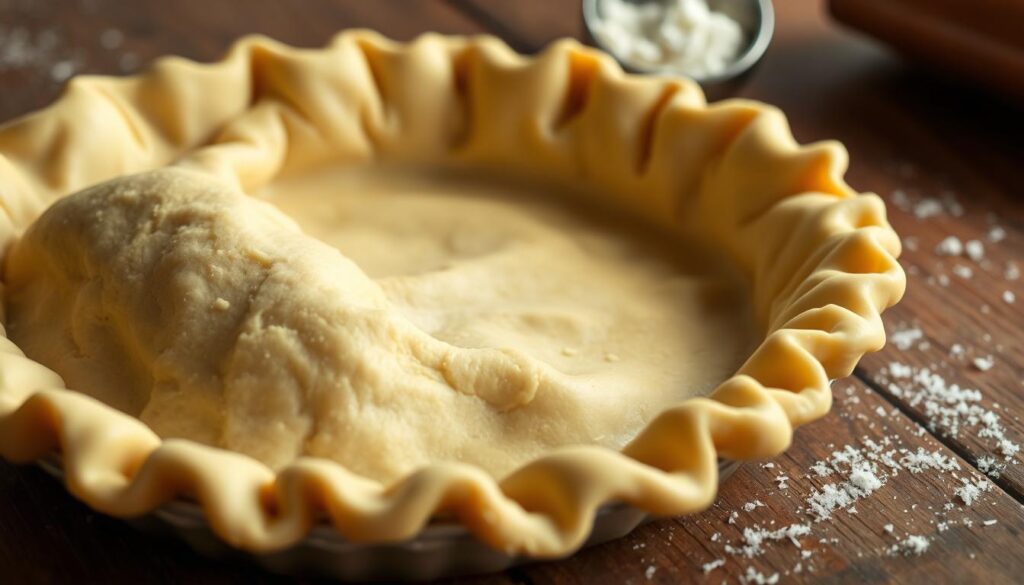
Shortening offers a consistent texture, unlike butter. Butter can melt and get greasy, but shortening stays stable. It also has a neutral taste, so it won’t change your pie’s flavor.
Temperature Control Advantages
Using Crisco also means better temperature control. Shortening melts slower than butter, making it easier to work with. This helps your pie crust stay cool and easy to shape, avoiding stickiness.
Essential Ingredients for Your Crisco Pie Crust Recipe
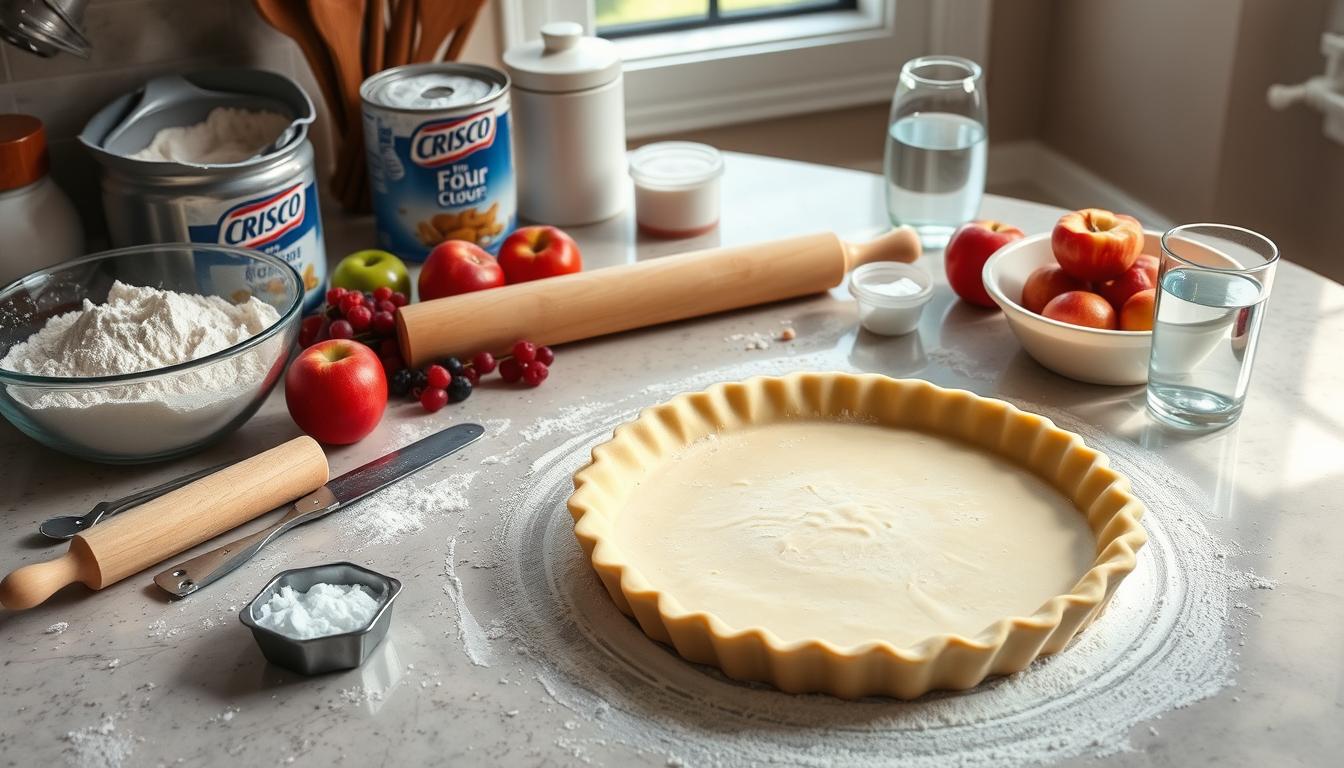
To make a tasty pie crust with shortening, you need a few key ingredients. You’ll need all-purpose flour, Crisco shortening, cold water, and a bit of salt. The quality of these ingredients matters a lot. So, pick the best flour and make sure your shortening is fresh.
Here is a list of the necessary ingredients for your pie crust recipe with shortening:
- 2 1/4 cups of all-purpose flour
- 1 cup of Crisco shortening
- 1/4 cup of cold water
- 1/4 teaspoon of salt
Using a pie crust recipe with shortening can give you a flaky and tender crust. The Crisco shortening is crucial here. It makes the crust layered and tender. By following this recipe and using the right ingredients, you can make a delicious homemade pie crust. It’s perfect for any filling.
When making your pie crust recipe with shortening, keep your ingredients cold. This helps make a flaky and tender crust. You can also use a pastry blender or your fingers to mix the shortening into the flour. This creates a layered texture.
Required Kitchen Tools and Equipment
To make a perfect piecrust, you need the right tools. A mixing bowl, a pastry blender, and a rolling pin are essential. These tools make the process easier and more efficient.
A food processor can help with quicker mixing. A pastry cloth makes rolling out the dough easier. It’s important to prepare your surface well. This prevents the dough from sticking and makes rolling smoother.
Must-Have Items
- Mixing bowl
- Pastry blender
- Rolling pin
Optional But Helpful Tools
- Food processor
- Pastry cloth
Surface Preparation Requirements
A clean and floured surface is key for a great piecrust. You can use a pastry mat or a floured countertop. This prevents the dough from sticking and makes rolling easier.
| Tool | Description |
|---|---|
| Mixing Bowl | Used for mixing the ingredients |
| Pastry Blender | Used for blending the ingredients |
| Rolling Pin | Used for rolling out the dough |
Step-by-Step Mixing Techniques
To make the best pie shell, mastering mixing techniques is key. When mixing dry ingredients, be gentle to prevent gluten development. This ensures a flaky crust. Start by whisking flour, salt, and any other dry ingredients in a large bowl.
Then, add shortening and blend it into the flour with a pastry blender or your fingers. Avoid overmixing to prevent a tough crust. Aim for a mix that looks like coarse crumbs with some shortening pieces left.
Now, add water. Mix it gently with a fork, or use a stand mixer with a dough hook. The goal is to mix just enough without overworking the dough.
- Use cold ingredients, including the shortening and water, to help the dough come together.
- Avoid overmixing, as this can lead to a tough crust.
- Use a light touch when mixing the dough, and don’t overwork it.
By following these tips and using the right mixing techniques, you’ll be well on your way to creating the best pie shell recipe. With practice, you’ll become a pro at making delicious homemade pie crusts using the perfectmixing techniques.
The Perfect Rolling and Shaping Method
Rolling out your pie dough is key to a beautiful pie. Start by rolling it on a floured surface. Use gentle pressure, moving outwards from the center. This makes the dough even, which is important for a great crust.
While rolling, focus on the edges. Use crimping techniques to make a pretty border. This not only looks good but also keeps the filling inside while baking. When moving the crust to the pie dish, lift it gently to avoid stretching or tearing.
- Roll your crust to a thickness of about 1/8 inch for a single-crust pie.
- Use a pastry brush to remove any excess flour from the surface.
- Chill your crust in the refrigerator for at least 30 minutes before baking to help it hold its shape.
By following these steps and practicing your pie crust rolling and crimping techniques, you’ll make a stunning and tasty homemade pie.
| Technique | Description |
|---|---|
| Pie Crust Rolling | Rolling out the dough to a uniform thickness |
| Crimping Techniques | Creating a decorative border to prevent filling from spilling over |
Pre-Baking and Blind Baking Guidelines
When making a pie, you might need to pre-bake or blind bake your crust. This is especially true for fillings like cream or custard. Pre-baking helps your crust stay in shape and taste great with the filling. To do this, you’ll need to weigh down the crust so it doesn’t bubble up.
You can use pie weights or dried beans to keep the crust flat. Here’s how to pre-bake and blind bake:
- Preheat your oven to 375°F (190°C).
- Roll out your pie crust and place it in a pie dish.
- Cut a piece of parchment paper to fit the pie crust and fill with pie weights or dried beans.
- Bake the crust for 15-20 minutes, or until it is lightly golden brown.
Blind baking is like pre-baking but without filling. It’s good for pies that might get soggy, like cream pies. By following these steps, you’ll get a flaky and delicious crust.
Always check if your crust is done and adjust the baking time if needed. With these tips, you’ll make a beautiful pie with a perfectly baked crust.
| Method | Description |
|---|---|
| Pre-baking | Baking the crust before adding the filling |
| Blind baking | Baking the crust without any filling |
Troubleshooting Common Pie Crust Problems
When making a pie crust, you might face issues like cracks, tears, or a tough, dry crust. To solve these problems, it’s key to know the causes and take action. Always follow a trusted recipe and use the right methods.
Some common pie crust problems include:
- Cracks and tears: These can happen if you overwork the dough or add too much water.
- Tough or dry crust: This might be due to baking it too long or using the wrong flour.
- Shrinkage during baking: This can occur if the crust isn’t chilled enough or if the oven is too hot.
To fix these issues, try adjusting how you mix the dough, ensure the right baking temperature, and use the correct water amount. By tackling these problems, you can get a flaky, tasty crust. Remember, it takes practice to get it right, so don’t get discouraged if it doesn’t work out at first.
For instance, if you’re getting cracks and tears, try using less water or changing your rolling method. If your crust is tough or dry, check your oven’s temperature and baking time. By finding the problem’s cause and fixing it, you can make a beautiful, delicious pie crust.
By following these tips and solving common problems, you’ll be on your way to making a perfect pie crust. Stay calm and patient, as mastering pie crust making takes time and practice. With more experience, you’ll grow more confident in solving pie crust issues and making a tasty homemade pie.
| Common Problem | Cause | Solution |
|---|---|---|
| Cracks and tears | Overworking the dough or too much water | Adjust mixing technique and reduce water |
| Tough or dry crust | Overbaking or wrong type of flour | Check oven temperature and baking time |
| Shrinkage during baking | Insufficient chilling or high oven temperature | Chill crust properly and reduce oven temperature |
Storage and Make-Ahead Tips
There are a few ways to store pie crust. You can keep it in the fridge for up to 3 days or freeze it for 2 months. To freeze, wrap the dough in plastic or foil and put it in a freezer bag.
For make-ahead pie crust, you can make the dough early and store it. This is great for saving time, especially during holidays when you make many pies.
Here are some tips for storing and making ahead pie crust:
- Store the dough in the refrigerator at a temperature of 40°F (4°C) or below.
- Freeze the dough at 0°F (-18°C) or below.
- When thawing frozen dough, let it thaw overnight in the refrigerator or at room temperature for a few hours.
- Use a make-ahead pie crust within 2 months of freezing for best results.
By following these tips, you can enjoy homemade pie crust anytime. It’s perfect for busy bakers or pros. Storing pie crust and making it ahead saves time and stress.
| Storage Method | Storage Time | Temperature |
|---|---|---|
| Refrigerator | Up to 3 days | 40°F (4°C) or below |
| Freezer | Up to 2 months | 0°F (-18°C) or below |
Variations and Adaptations
Once you get the hang of the classic Crisco pie crust, you might want to try pie crust variations. These can be for sweet or savory fillings, or even a gluten-free pie crust for dietary needs.
Exploring pie crust variations can be fun. You can use different flours like almond or coconut to change the taste and texture. Adding herbs and spices, like thyme or cinnamon, can also enhance the flavor.
For a gluten-free pie crust, you have several choices. You can use a pre-made gluten-free flour blend or mix your own with rice, potato, and tapioca flour. Remember, cold ingredients and gentle mixing are key to avoid a tough crust.
Here are some tips for making pie crust variations:
- Use a variety of flours to create unique flavors and textures
- Add herbs and spices to complement the filling
- Experiment with different types of fat, such as coconut oil or lard
- Try using different liquids, such as milk or cream, to create a unique flavor
By trying out different pie crust variations and gluten-free pie crust options, you can make a variety of tasty pies. These pies can meet different tastes and dietary needs.
Sweet vs Savory Modifications
Modifying your pie crust for sweet or savory fillings requires some thought. For sweet fillings, a bit of sugar or honey can balance the flavor. For savory fillings, herbs and spices can enhance the taste.
Gluten-Free Options
Making a gluten-free pie crust can be a bit tricky, but it’s doable. Use a mix of gluten-free flours and mix gently to avoid a tough crust.
Expert Tips for Professional-Looking Results
To get a professional pie crust, focus on the details. A well-made crust can really enhance your pie’s look. With some expert advice, you can elevate your pie crust to a professional level.
Decorative finishes are key for a pro-looking pie crust. You can use simple crimping or more detailed designs. Adding these touches can make your pie look polished and impressive. Try combining crimping and braiding for a unique design.
Decorative Finishing Touches
- Crimping: Use a fork or your fingers to create a decorative edge around the pie crust.
- Braiding: Use strips of dough to create a braided design on top of the pie.
- Leaf patterns: Use a knife or a pastry brush to create leaf patterns on the pie crust.
Another crucial part is the visual inspection guide. This helps spot any flaws like cracks or unevenness. By using a guide, your pie crust will look perfect and flawless. For a top-notch pie crust, mix decorative finishes with a detailed visual check.
Visual Inspection Guide
By following these expert tips, you can make a pie crust that looks professional. These steps are great for both experienced bakers and beginners. They help you achieve a professional pie crust with beautiful finishes.
Conclusion: Mastering Your Homemade Pie Crust
Making a homemade pie crust is a skill that takes time and practice. But with the right techniques and tips, you can make a crust that tastes great and looks good too. Whether you’re new to baking or have been doing it for years, learning to make a homemade pie crust is a rewarding journey. This article has given you the tools to start making pies that will wow your loved ones.
The secret to a perfect pie crust is in the details. Pay attention to your measurements, control the temperature, and handle the dough gently. The more you practice, the better you’ll get. Soon, you’ll be making homemade pie crusts that are flaky, tender, and full of flavor.
FAQ
What are the essential ingredients for making the best Crisco pie crust?
To make the best Crisco pie crust, you need all-purpose flour, Crisco shortening, cold water, and a pinch of salt. The quality of these ingredients matters. Choose the right flour and make sure your shortening is fresh.
What are the benefits of using Crisco shortening for pie crust?
Using Crisco for your pie crust has many advantages. It makes the crust flaky and easier to work with. This is because shortening is better at controlling temperature and mixing than butter.
What are the must-have kitchen tools and equipment for making a Crisco pie crust?
You’ll need a mixing bowl, a pastry blender, and a rolling pin to make a Crisco pie crust. A food processor and pastry cloth can also be helpful. Make sure your surface is floured to prevent sticking.
How do I achieve the perfect rolling and shaping of my Crisco pie crust?
Rolling out your pie crust takes patience and practice. You need to get the right thickness and shape. This includes techniques for even thickness and decorative edges.
When and how should I pre-bake or blind bake my Crisco pie crust?
Sometimes, you need to pre-bake or blind bake your pie crust. This is especially true for fillings like cream or custard. It’s important to know how to do this to get a crust that holds its shape.
How can I troubleshoot common Crisco pie crust problems?
Pie crust making can sometimes go wrong. This section will help you fix common problems like cracks and tears. We’ll cover tips for preventing and fixing these issues.
How can I store and make my Crisco pie crust ahead of time?
Making a pie crust from scratch can be time-consuming. This section will show you how to store your dough in the fridge or freezer. This can save you time and stress.
What variations and adaptations can I make to the Crisco pie crust recipe?
You can experiment with the Crisco pie crust recipe to suit different tastes. This section will explore variations for sweet and savory fillings, and even gluten-free options. These ideas can help you try new things in your pie-making.
